|
|
 |
|
|
M60 Assembly (TUBX11)
| Assembling The Plastic M60 |
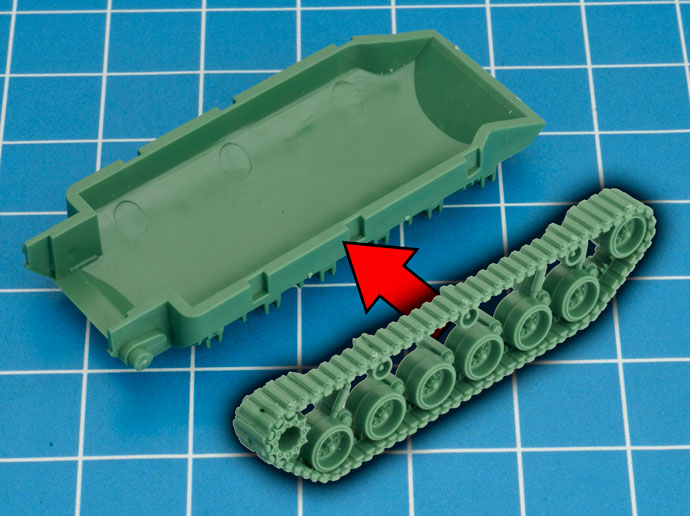
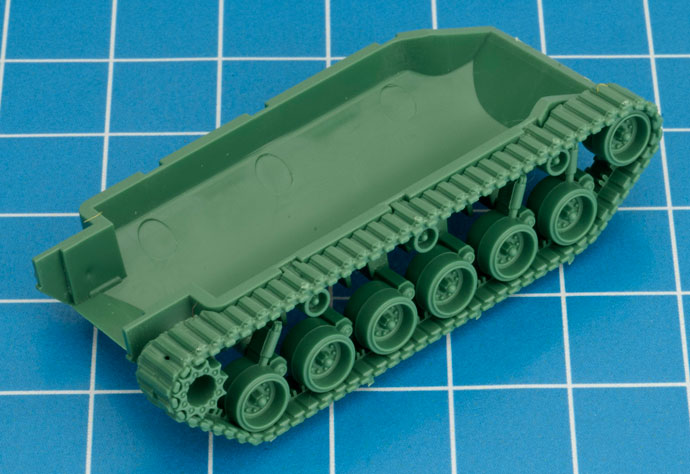
Step 1: Start by gluing the right-hand tracks to the lower hull section.
|
 |
 |
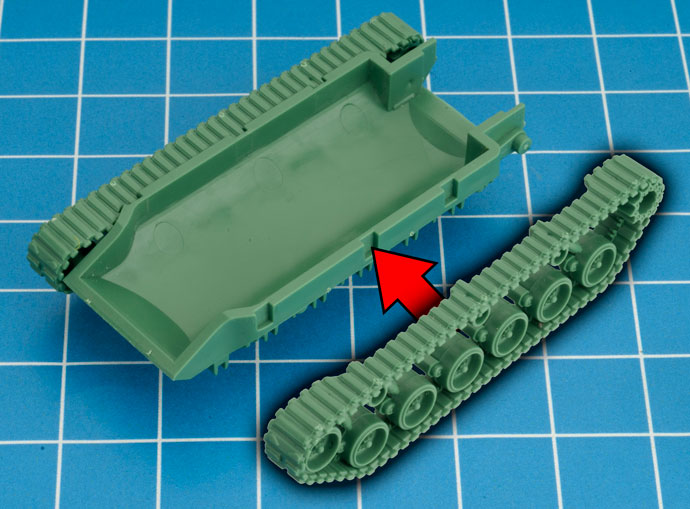
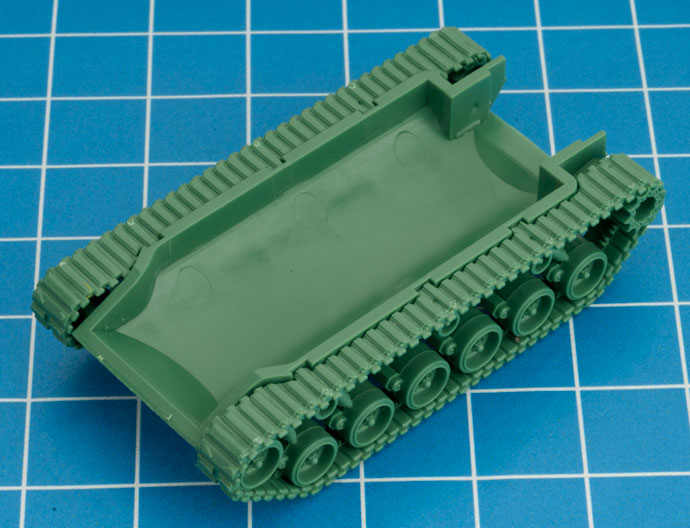
Step 2. Attach the left-hand side tracks to the hull.
|
 |
 |
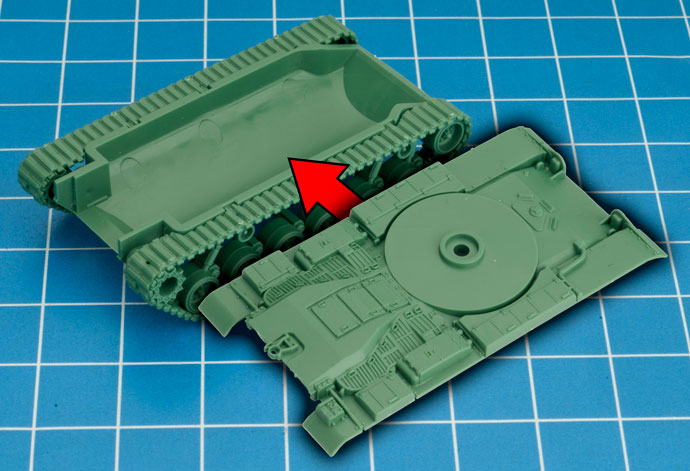
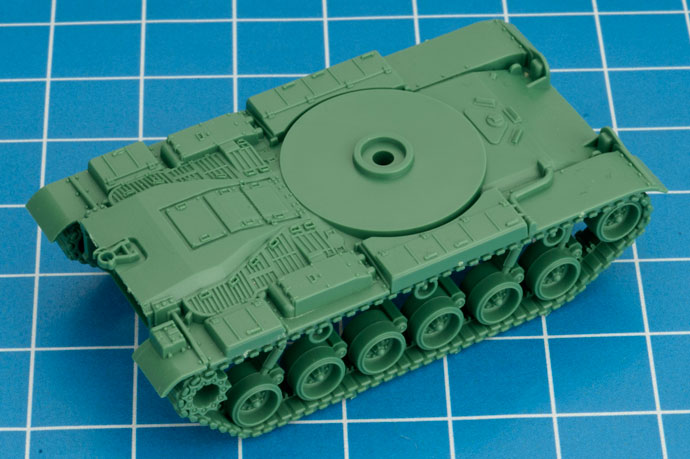
| Step 3. Affix the hull top to the hull bottom. |
 |
 |
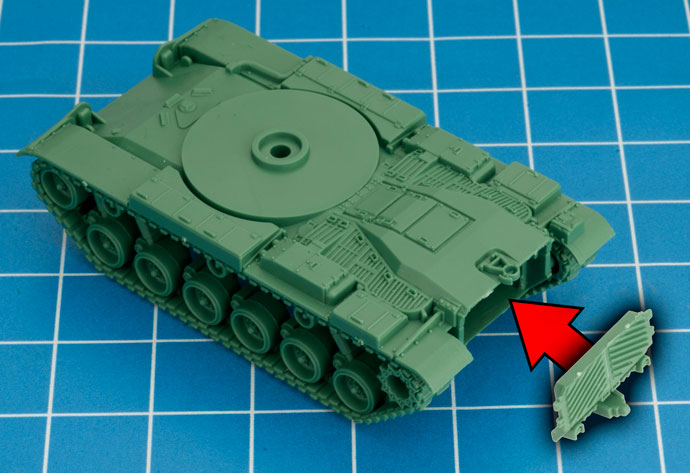
Step 4. Attach the backplate to the hull assembly.
|
 |
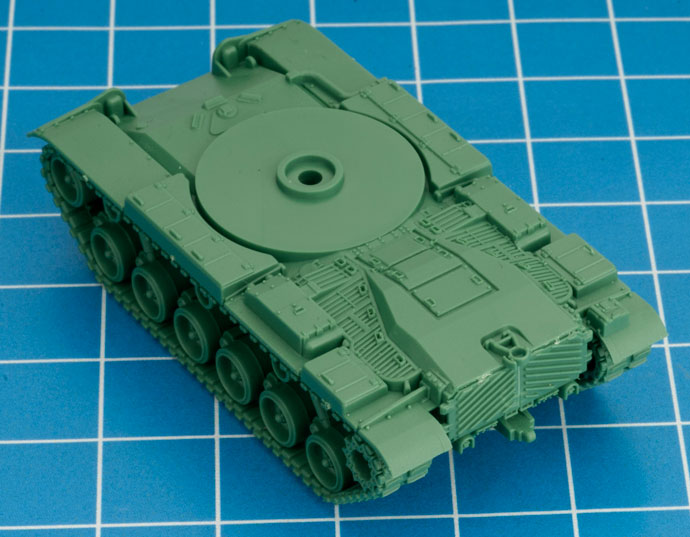 |
Step 5. Next, attach the back plate to the back of the tank.
|
 |
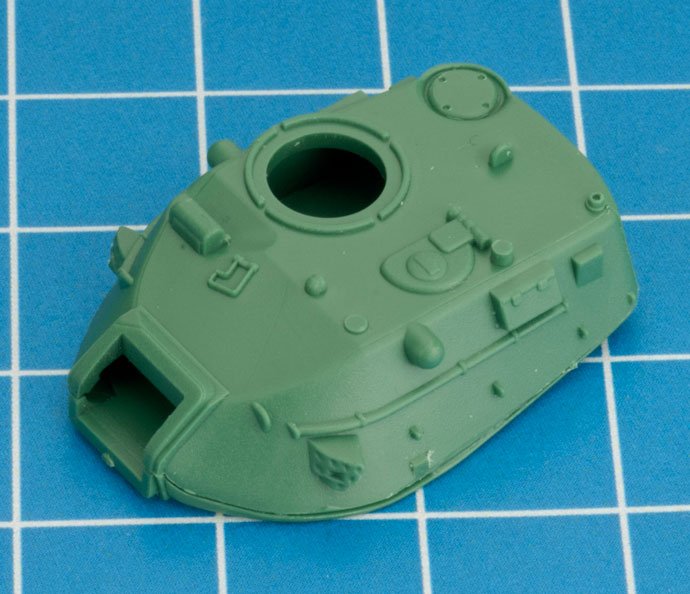 |
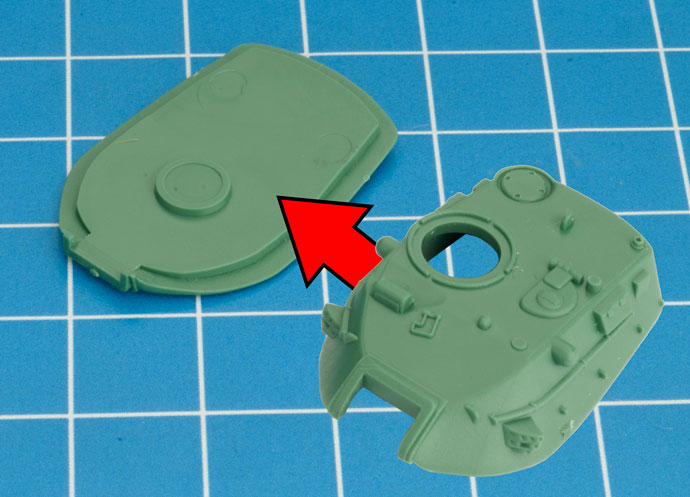
| Step 6. Next, attach the top plate of the turret to the bottom section |
 |
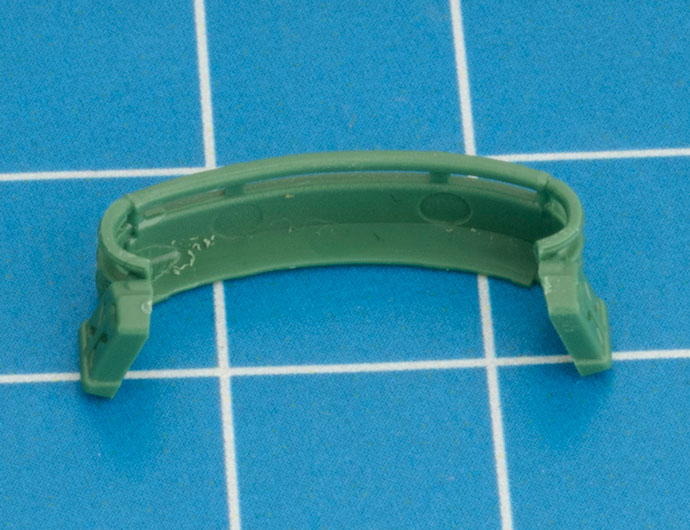 |
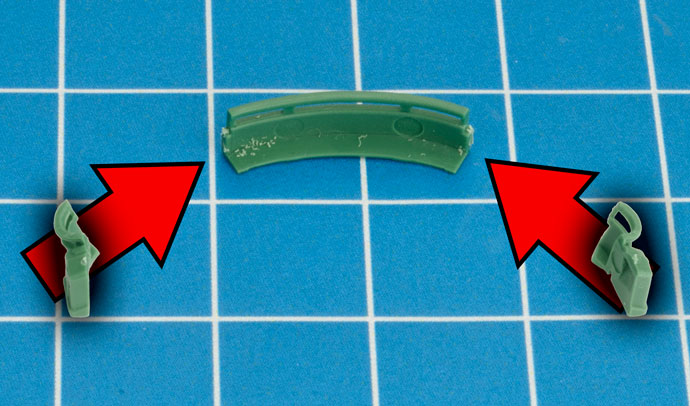
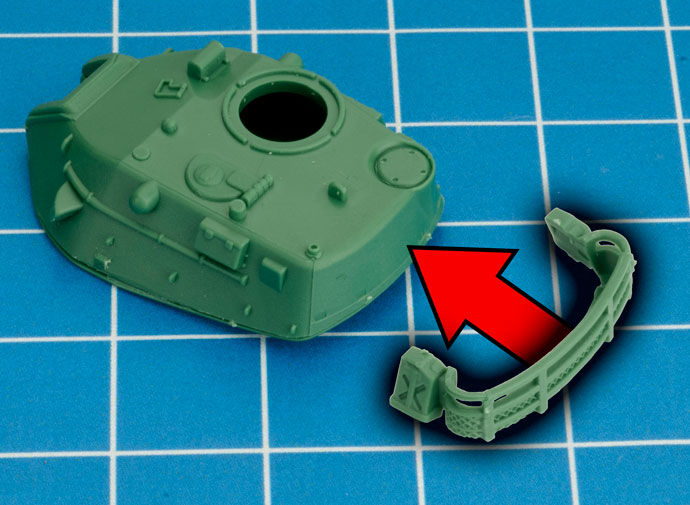
Step 7. Next, assemble the equipment rack
|
 |
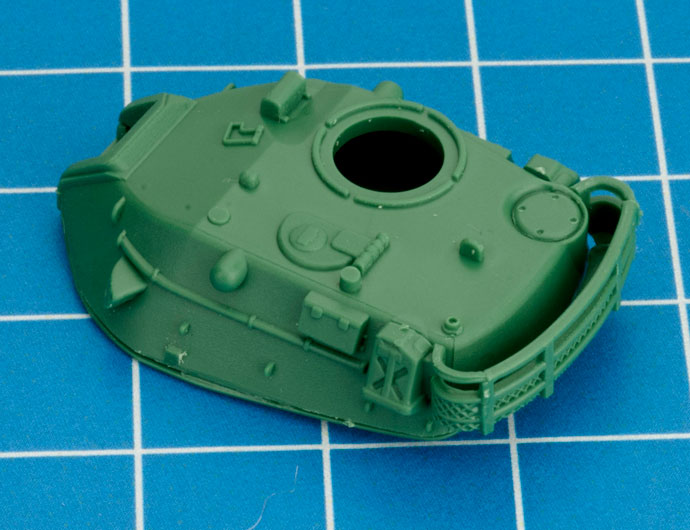 |
| Step 8. Next, attach the equipment rack to the back of the turret. |
 |
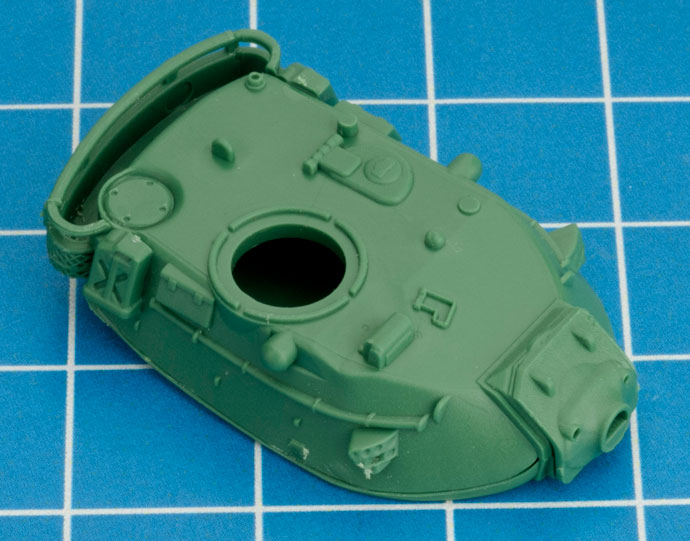 |
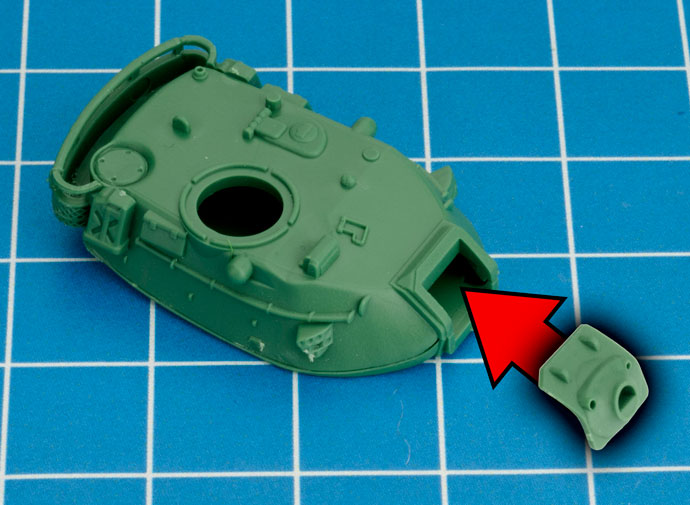
Step 9. Next, attach the front plate to the front of the turret.
|
 |
 |
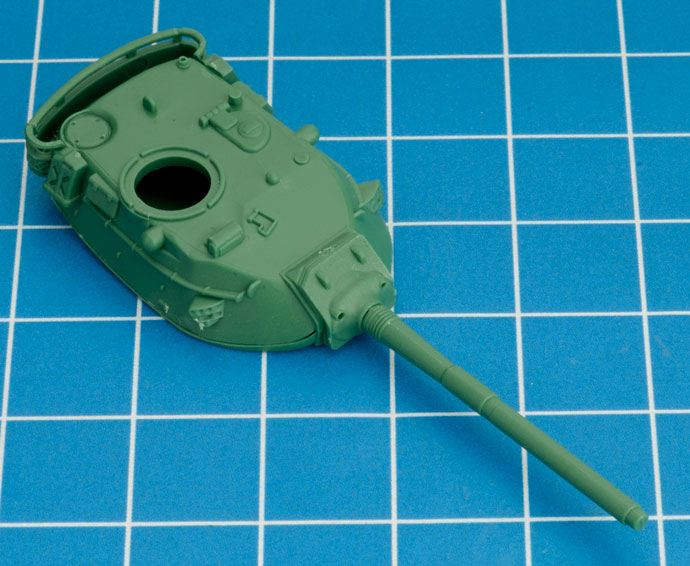 |
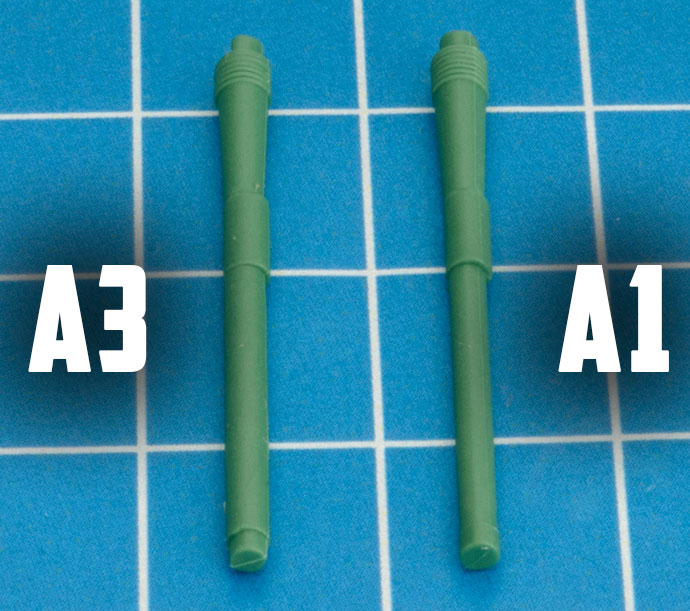
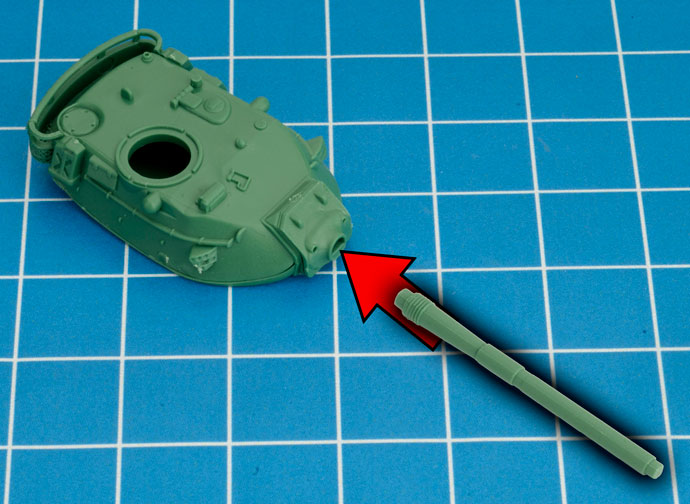
Step 10. Next, attach the 105mm main gun to the front of the turret.
|
 |
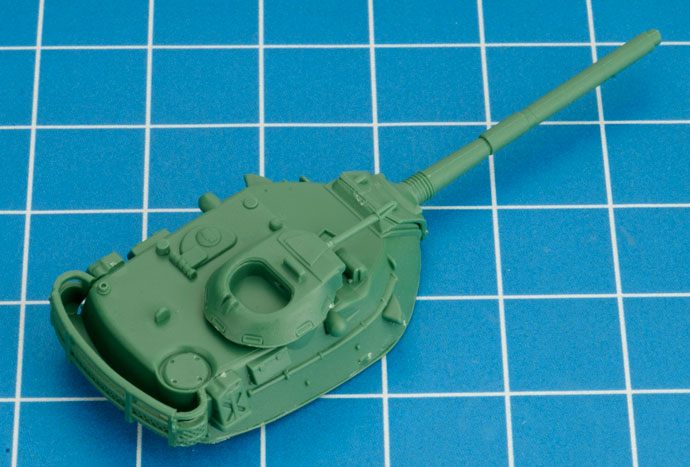 |
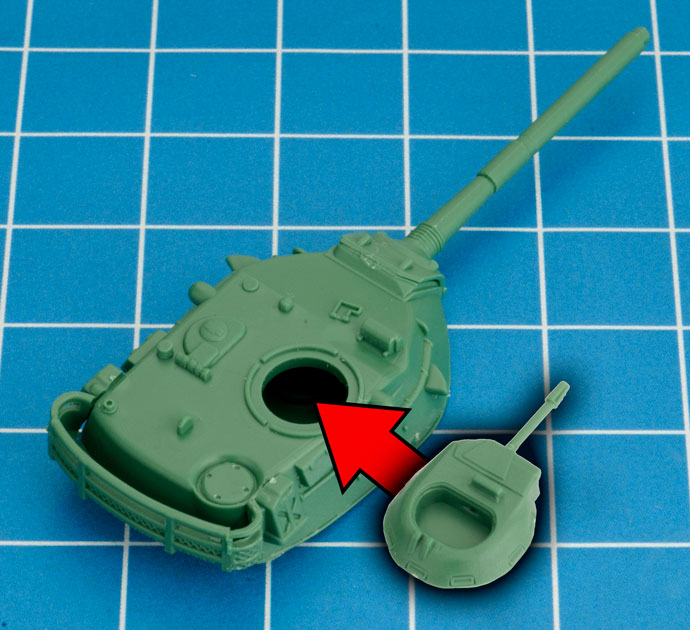
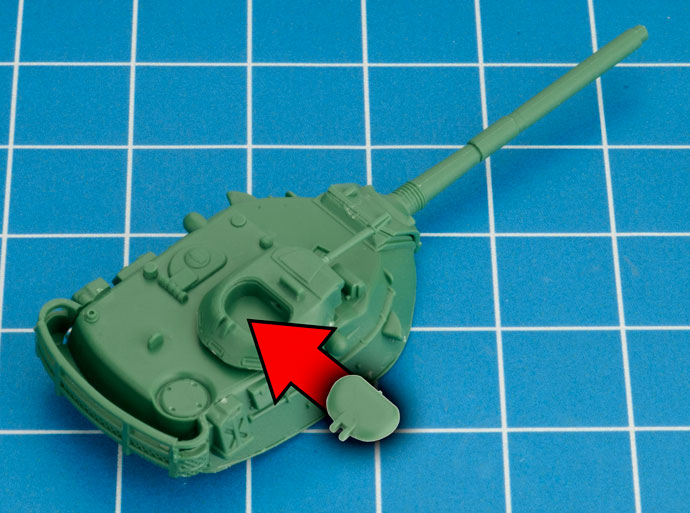
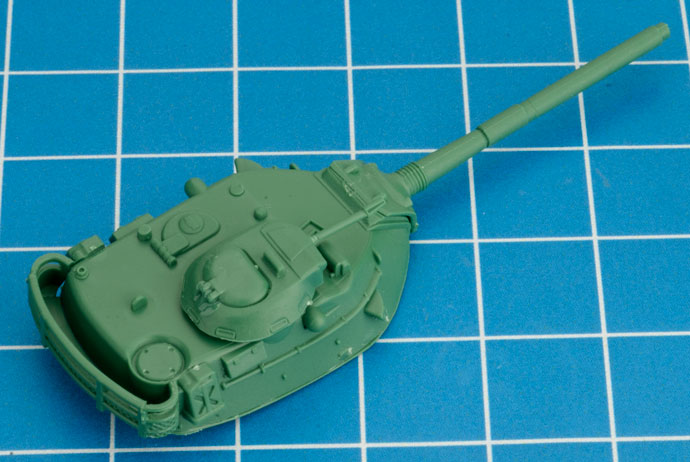
| Step 11. Next, attach the cupola to the top of the turret and attach the hatch to the cupola |
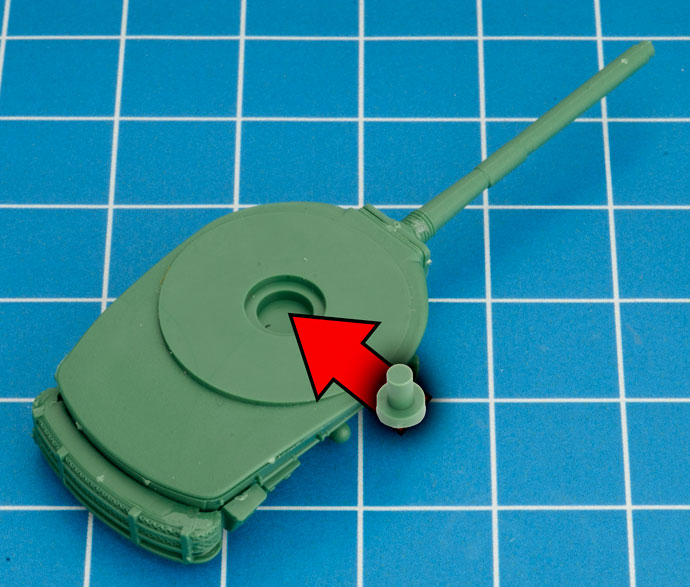
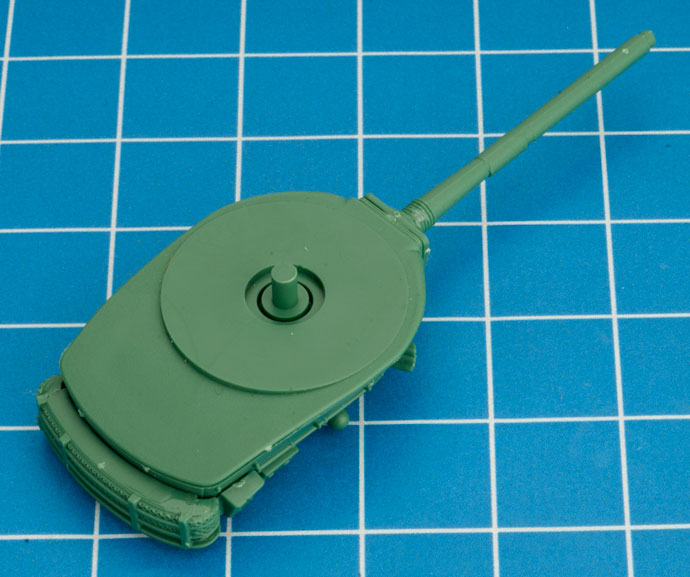
Step 12. Attach the turret peg to the base of the turret in order to secure the turret to the hull. |
 |
 |
 |
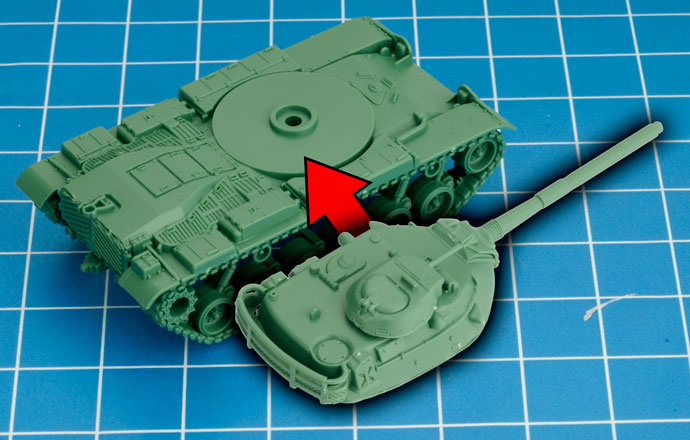
| Step 13. The turret can now be placed on top the tank |
 |
 |
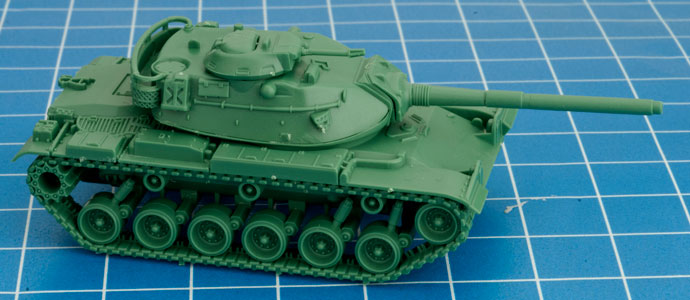
| Below: With the turret now secured to the hull, the M60 is now fully assembled. |
 |
Last Updated On Sunday, December 10, 2017 by Luke at Battlefront
|
|
|