|
|
 |
|
|
Kampfgruppe Müller (TGRAB1)
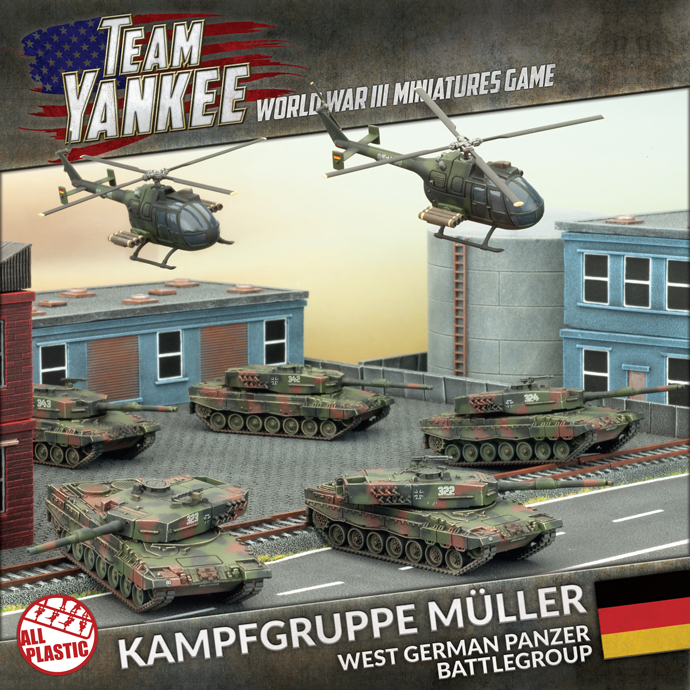 |
Kampfgruppe Müller (TGRAB1)
Contains five plastic Leopard 2 Tanks, two plastic BO-105P Helicopters, five resin tank commander figures, eight rare-earth magnets, two decal sheets, five unit cards and one printed cardboard Artillery & Salvo template.
Hauptmann Müller watched from his turret as the Soviet T-72s emerged from the village. ‘Wait’ he thought to himself as more enemy tanks moved beyond the cover of the village houses. The Soviet tanks keep coming, he counted eight – no, nine – but more kept coming. They spread out slowly into line abreast, unaware that Müller’s company of Leopard 2 tanks were watching them from the forest just 1500 metres away.
Check out Kampfgruppe Müller in the online store...
|
|
Leopard
All across West Germany divisions are being mobilised and reservists flock to their barracks for assignment to the front. With their powerful Leopard 2 tanks and panzergrenadiers mounted in the Marder infantry fighting vehicles, they fight with skill and cunning to slow the Soviet advance, determined to protect their homes and families.
Click here to find out more about Leopard...
|
 |
| Müller’s leading platoon rounded the wood and were faced with a battalion of tanks and a company of infantry parked in several long tree lined fields. The German tanks were quickly spotted, which sent the Soviets into a mad scramble to mount their vehicles. The Leopards began to pick off the stationary T-72s as they desperately tried to swing their guns into action. |
 |
|
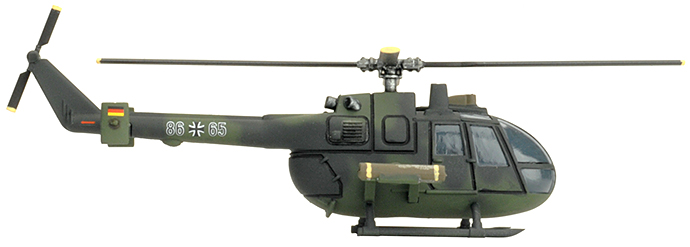
“Here we go,” Leutnant Karl Leitz muttered, more to himself than his pilot as his pilot prepared to break cover. With that, they banked to the left and made straight for their next hide position, keeping one eye on the cluster of trees and the other on the radar warning receiver.
Only when they were set and his pilot had managed to orient the aircraft to where they expected the Soviets would be did their PAH helicopter slowly rise up to treetop level.
|
 |
|
| Kampfgruppe Müller Box Contents |
| Contact the customer service team at [email protected] if you have issues with any components. |
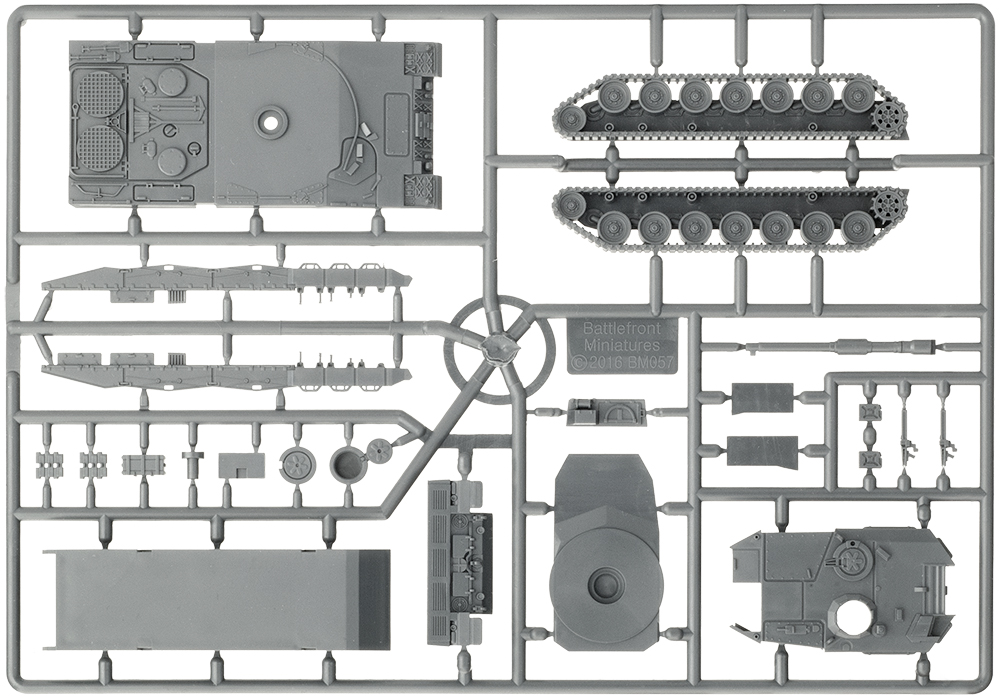
| Leopard 2 Sprue (x5) |
 |
| Tank Commander Sprue - front |
 |
| back |
 |
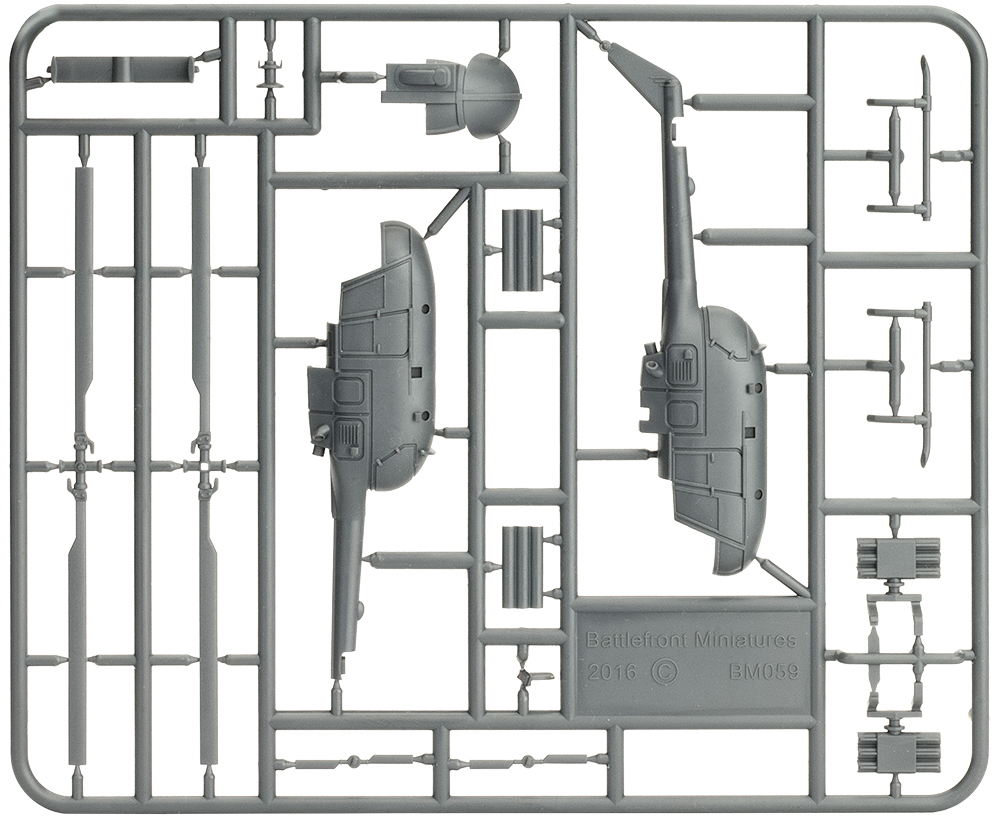
| PAH Anti-tank Helicopter Sprue (x2) |
 |
| Artillery & Salvo Template |
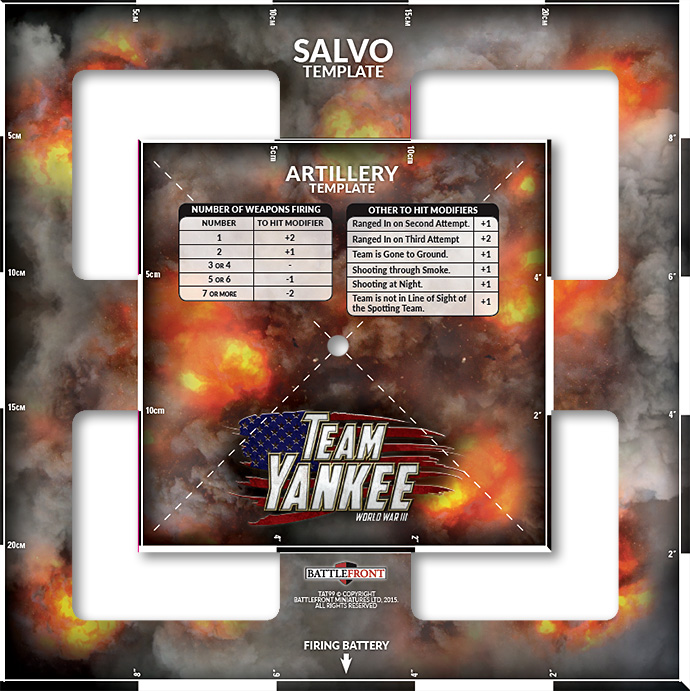
| Artillery Bombardments in Team Yankee use a Template to show the area being bombarded. There are two sizes of template: Artillery (6"15cm square) and Salvo (10"/25cm square) depending on the ROF of the weapons firing. The printed template in Kampfgruppe Müller is designed to give you sizes of template in one. |
 |
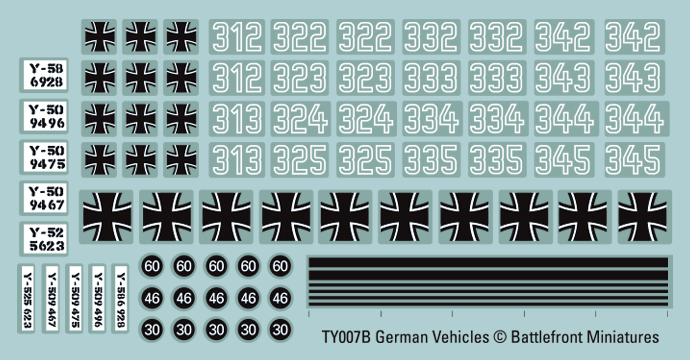
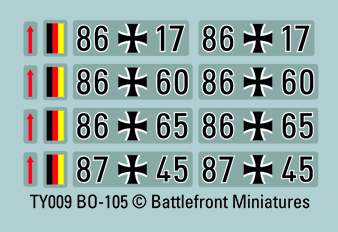
| Decal Sheets |
 |
 |
| Assembling Kampfgruppe Müller |
| Assembling a Leopard 2 tank |
| Step 1: Start by gluing the hull bottom to the hull top. |
Step 2: Next glue on the hull rear piece |
| Step 3: Attach the tracks. The hull sides have locator recesses which match the locator slides on the tracks, to ensure you get the tracks on the correct sides, but to be certain, make sure the drive sprockets are at the rear (below). If you would prefer to paint the tracks separately and attach them later, that's fine – it's up to you. |
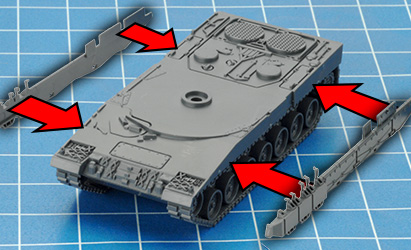
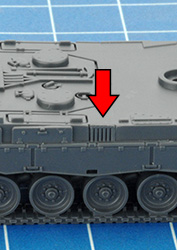
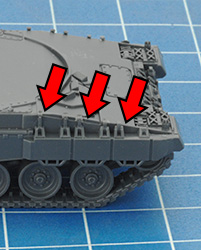
| Step 4: Next attach the side skirts. |
Each skirt has a rectangular grille which fits into a matching recess on the hull side. |
Also make sure that these brackets align neatly with the angle of the front glacis. |
 |
 |
 |
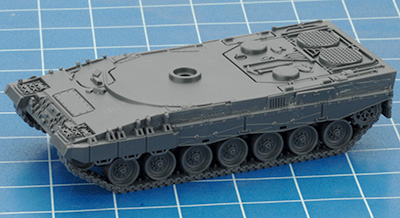
| Below: the completed hull. |
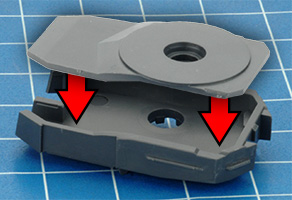
Step 5: Start assembling the turret by gluing the turret bottom to the turret top. |
 |
 |
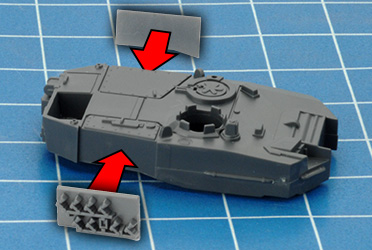
| Step 6: Next attach the turret rear piece. Note, the stowage box should be on the left-hand side. |
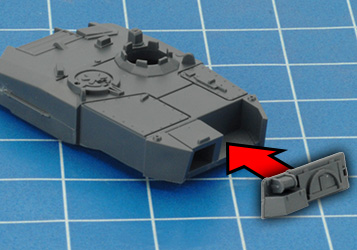
Step 7: Next attach the turret side plates with smoke launchers. Note: each piece has a triangular section at the bottom front, which matches the shape of the turret side. |
 |
 |
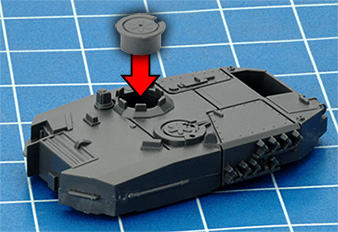
| Step 8: Next glue the commander's cupola into its round hole, with the hinge positioned to the rear. |
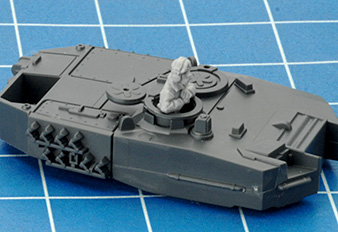
Step 9: If you want to include a commander figure (a good way to identify a command vehicle, or just to give your tank a unique look), use the open hatch version instead. Many painters find it easier to paint command figures separately and then attach them at the end. |
 |
 |
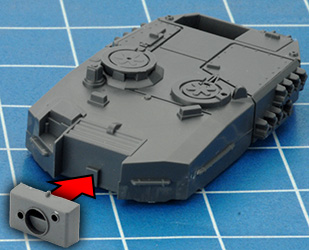
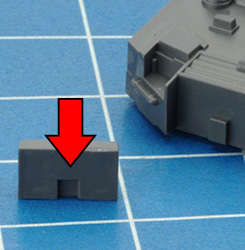
| Step 10: Next attach the gun mantlet. |
The back of the mantlet has a rectangular recess which matches the peg on the turret front. |
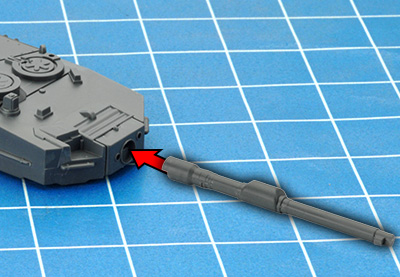
Step 11: Glue the 120mm gun into the mantlet. The gun has a semi-circular peg which matches the locator hole in the mantlet. |
 |
 |
 |
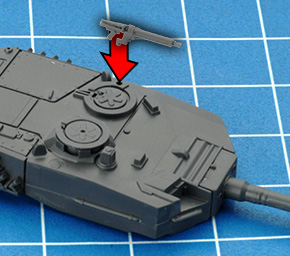
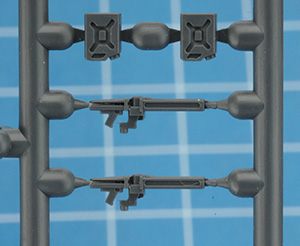
| Step 12: Glue the AA machine-gun into the mounting hole on the left side of the loader's hatch. |
Because MG's are always a fairly fragile part of a model, there are two included on the sprue in case you ever need a spare. |
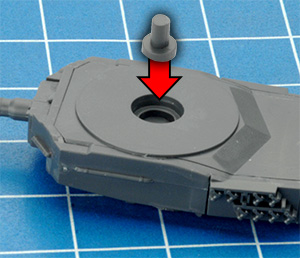
Step 13: Finally, glue the turret peg in place. |
 |
 |
 |
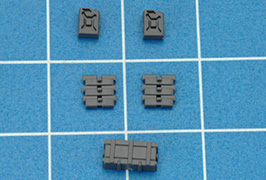 |
Several optional stowage items are included on the sprue: fuel cans, spare track links and an ammunition crate. |
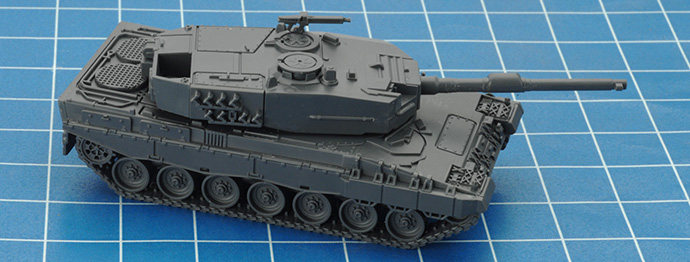
| Below: A fully assembled Leopard 2 |
 |
| Assembling a BO-105 PAH Anti-tank helicopter |
| Leopard 2 Painting Guide |
|
|
| BO-105 PAH Painting Guide |
|
|
Last Updated On Monday, November 6, 2017 by Luke at Battlefront
|
|
|